

Good ricotta is easy to make, but takes a subtle and gentle touch to get it right. You have to pay attention. Move slowly. Don’t rush the curds. The milk is heated to 194°F, and at that point the acid forces a coagulation of the milk proteins, resulting in the separation of whey and curds, giving you ricotta. Which is so interesting! But as is often the case, I’m guided more by touch, smell, and intuition rather than exact temperatures and scientific models, to the chagrin of those around me that have a vested interest in my replicating recipes verbatim.
There is nothing I despise more than looking up a simple recipe and needing to scroll past the SEO induced introduction that seem to increasingly take the form and length of a novella. So, recipe first. Context and thoughts to follow.
Important note: the fattier and fresher the milk, the better. No skim milk or 2% welcome here. Avoid ultra-pasteurized as well.
“Ricotta”
Method 1
4 parts milk
1 part buttermilk
Method 2
However much milk you have, any amount over 2 cups (less than that won’t yield enough ricotta to make it worthwhile)
Acid, like lemon juice or white vinegar
To season
Savory: salt and pepper
Sweet: salt and honey
Method 1
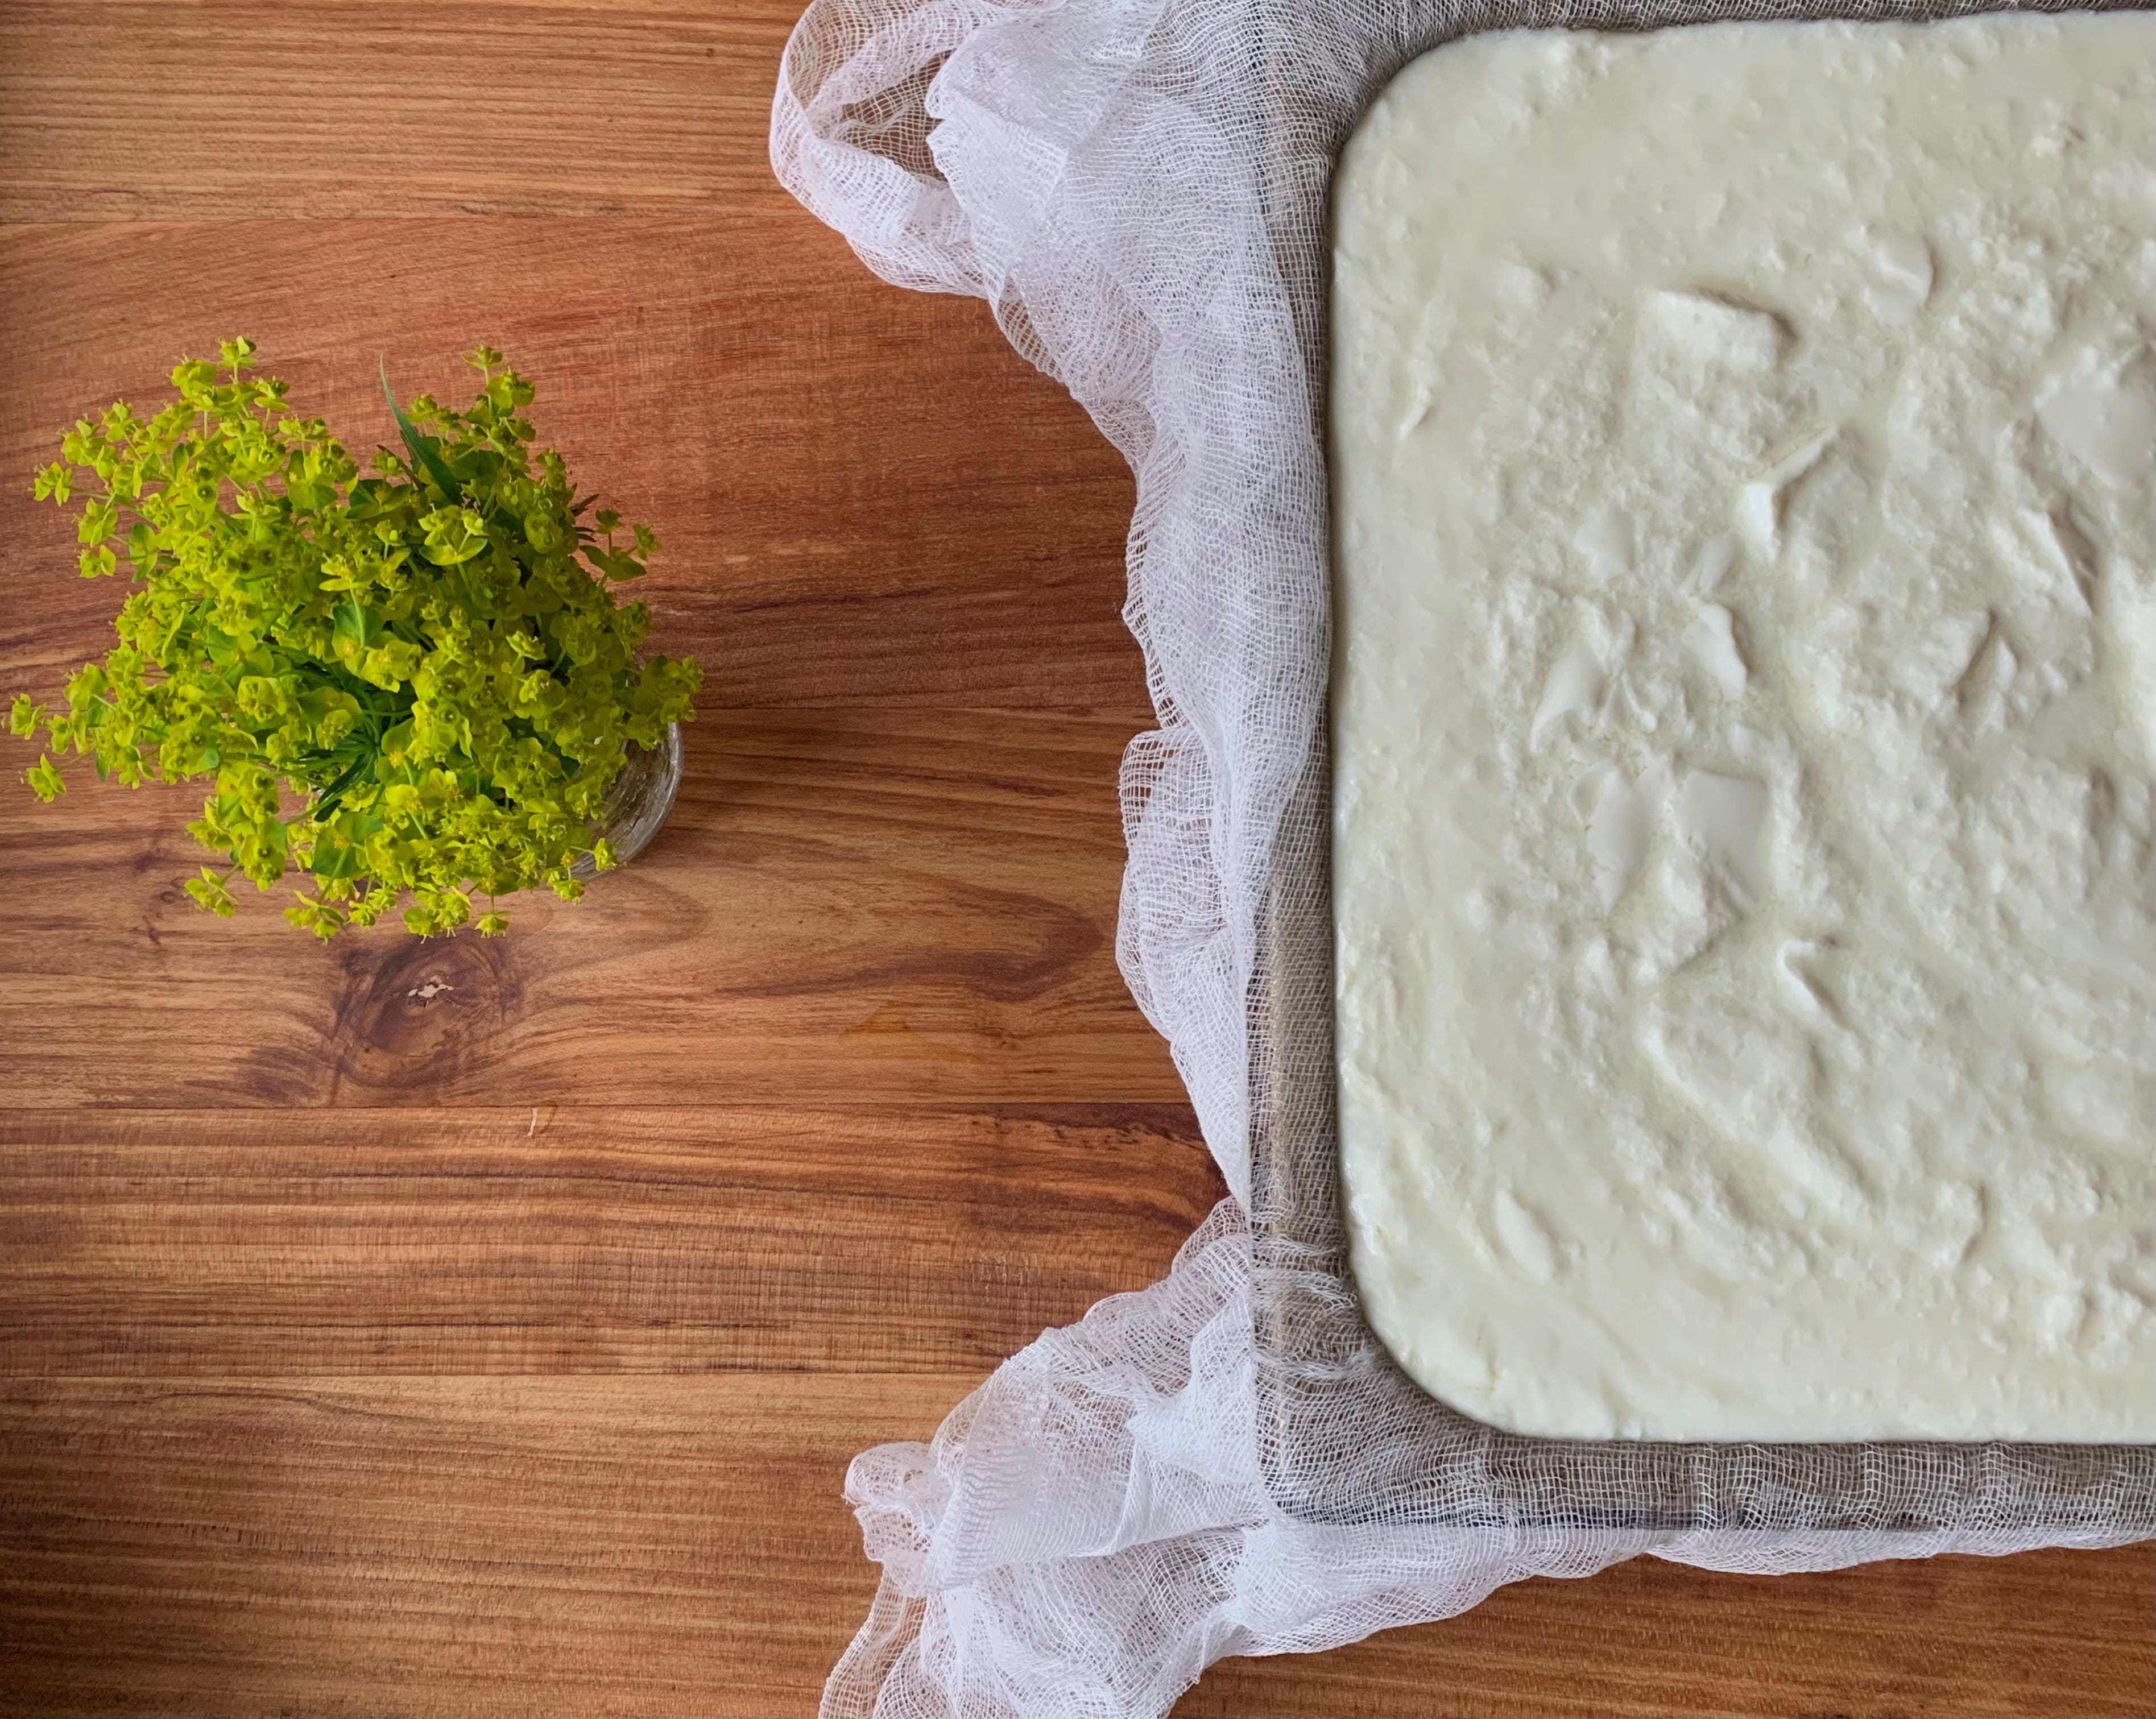
In a pot over medium-high heat, combine milk and buttermilk. Stir every few minutes. Keep a close eye and continue stirring, making sure to run the spoon along the bottom of the pot. If the milk is left undisturbed to settle on the bottom of the pot, it will likely burn. This is not the end of the world but should be avoided if possible.1 You’ll start to see clumps of milk solids forming at around 15-20 minutes. Keep stirring, very gently, to help move it along. The whey will be translucent and yellowish (depending on your milk, these varies) and the curds, white and clumping. At this point, turn the heat off and let the ricotta rest.
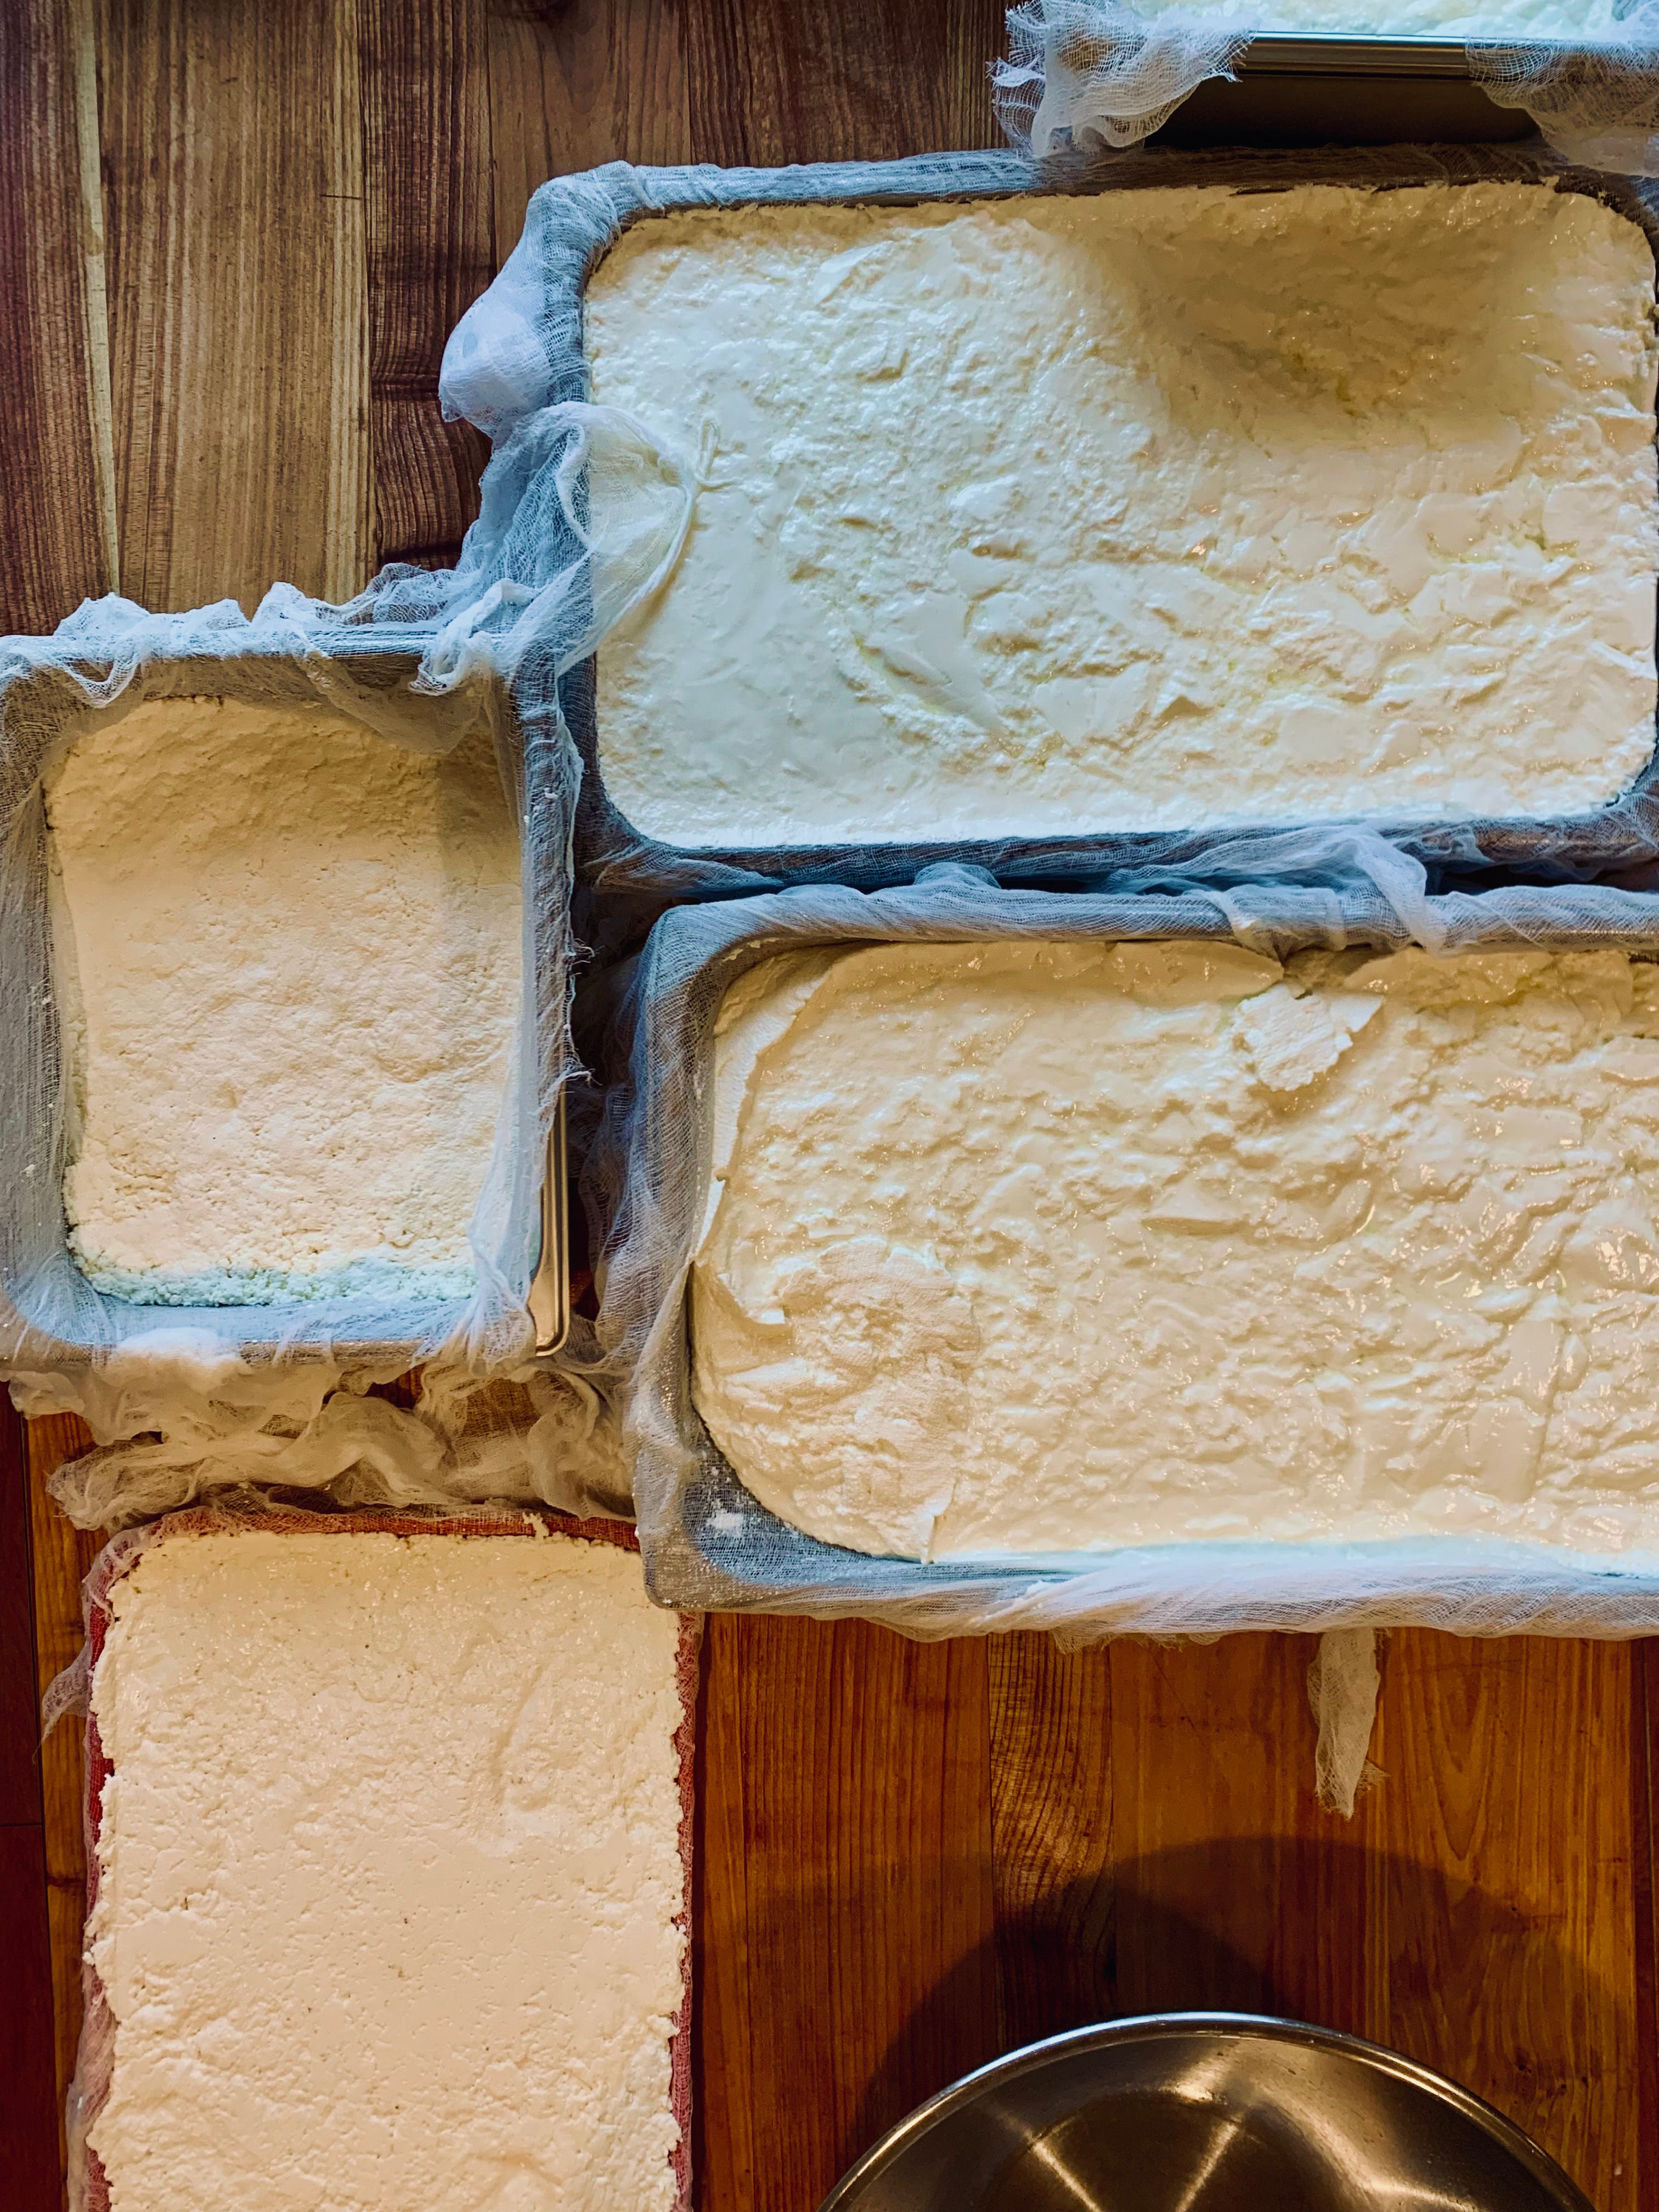
Set up a bowl with a colander resting on top of it, leaving room for the ricotta to drain. Line the colander with two layers of cheesecloth. If you don’t have cheesecloth, you can use a fine sieve or chinois. Once the ricotta has cooled for ten minutes or so, remove the curds from the whey with a slotted spoon or strainer and place in the cheesecloth lined colander. Reserve whey for whey caramel or save to add to your smoothies (high in protein and probiotics). You can also freeze it for another time.
Season as you like, either savory or sweet. I always like to tread gently when seasoning ricotta. Start small, a pinch of salt and a pinch of pepper, taste, and continue to adjust until the ricotta sings. It will sing at a certain point!
Method 2
This second method is a bit less rich, but you likely already have everything you need in your fridge to give it a try.
Place milk in a pot, turn the heat to medium-high and stir every few minutes. Keep a close eye and continue stirring, making sure to run the spoon along the bottom of the pot, because the milk can burn. Once you see steam starting to rise off the milk, and it starts to appear frothy on the top layer, add your acid (I prefer lemon juice) and stir to incorporate. You will see the whey and curds beginning to separate. If you don’t after a minute or so, add a bit more acid until you see the separation occur. Like method 1, the whey will be translucent and yellowish (depending on your milk, this can vary) and the curds, white and clumping. At this point, turn the heat off and let the ricotta rest.
Strain using same directions as method 1.
Season as you like!
I made a lot of ricotta when I was working at Blue Hill at Stone Barns awhile back. There was where I learned to use buttermilk as the acid to transform the homogenous milky mixture into disparate whey and curds. You may notice the word “ricotta” is in quotations. The actual translation of ricotta in Italian is “re-cooked”. Ricotta was originally the byproduct of making other cheeses. The residual milk solids could be coagulated through the reheating of the whey and the addition of acid, to form ricotta. So, this version with whole milk and buttermilk is pretty decadent. It may be more aptly named fresh cheese, or farmer’s cheese, or quark, but I’ve been calling it ricotta for too long to change now.
I feel like knowing how to make your own ricotta is a bit of an unlock in life, a realization of your own agency. Cheese is an elusive and mysterious creature. There is a sense of power that comes from understanding it, even just a little.
At the end of winter, I often end up questioning my decisions in life. How did I get here? I simply can’t make another root vegetable soup, slow braised meat, or 24 hour bone broth. No, you can’t make me. And then spring arrives with its waxy peas, astringent rhubarb, and elegant asparagus and I am reminded. Oh right, I love this. Once again there is brightness, levity, fresh chlorophyll. Ricotta is a good companion for the herbaceous, grassy, and sweet tastes of spring. Below are some of my favorite ways to employ her.
These recipes are meant to inspire, not necessarily to be followed methodically. Imagine we’re having a coffee, and you ask me how to make something and I tell you. That’s the energy. If you are curious for more detailed measurements or have any questions, please comment, and let me know!
Just Eat It
Warm, as is, on sourdough.
Whipped Ricotta
Place your fresh ricotta in a food processor, add a touch of heavy cream, lemon zest, salt and pepper. Spread on the bottom of a plate and top with grilled spring onions.
Whipped ricotta is also great as a sandwich spread. I’m thinking with grilled ramps and broccolini, ham or prosciutto, and a drizzle of hot honey.
Spring Green Spanakopita
I tend to make spanakopita at the end of a week, when I have turnip greens, ends of bags of spinach, and carrot tops lying around. That being said, I don’t subscribe to a specific amount of greens. You’ll need a lot! Around 8-12 cups would be my guess. Sauté a bunch of spring greens, whatever you can get your hands on. Young spinach, turnip tops, parsley, chard…season with salt, pepper, and a squeeze of lemon. Remove from heat, and with a strainer or just by squeezing with your hands, press out as much liquid as possible. Rough chop your squeezed greens. In the same pan, sauté 1 onion (chopped), 2 garlic cloves (chopped), in olive oil with red pepper flakes. Combine greens, onion-garlic mix, 3 eggs, 1 cup ricotta and 1 cup feta, zest of 1 lemon. Taste and adjust for seasoning. Melt 2 tablespoons of butter in a baking dish. Lay out 4 layers of phyllo. No need to be precious about this. If it rips, add more! Add the spring green spanakopita and spread into a flat layer. Cover with another 4 layers of phyllo and brush with melted butter. Sprinkle crunchy salt. Bake in a 400°F oven until golden brown.
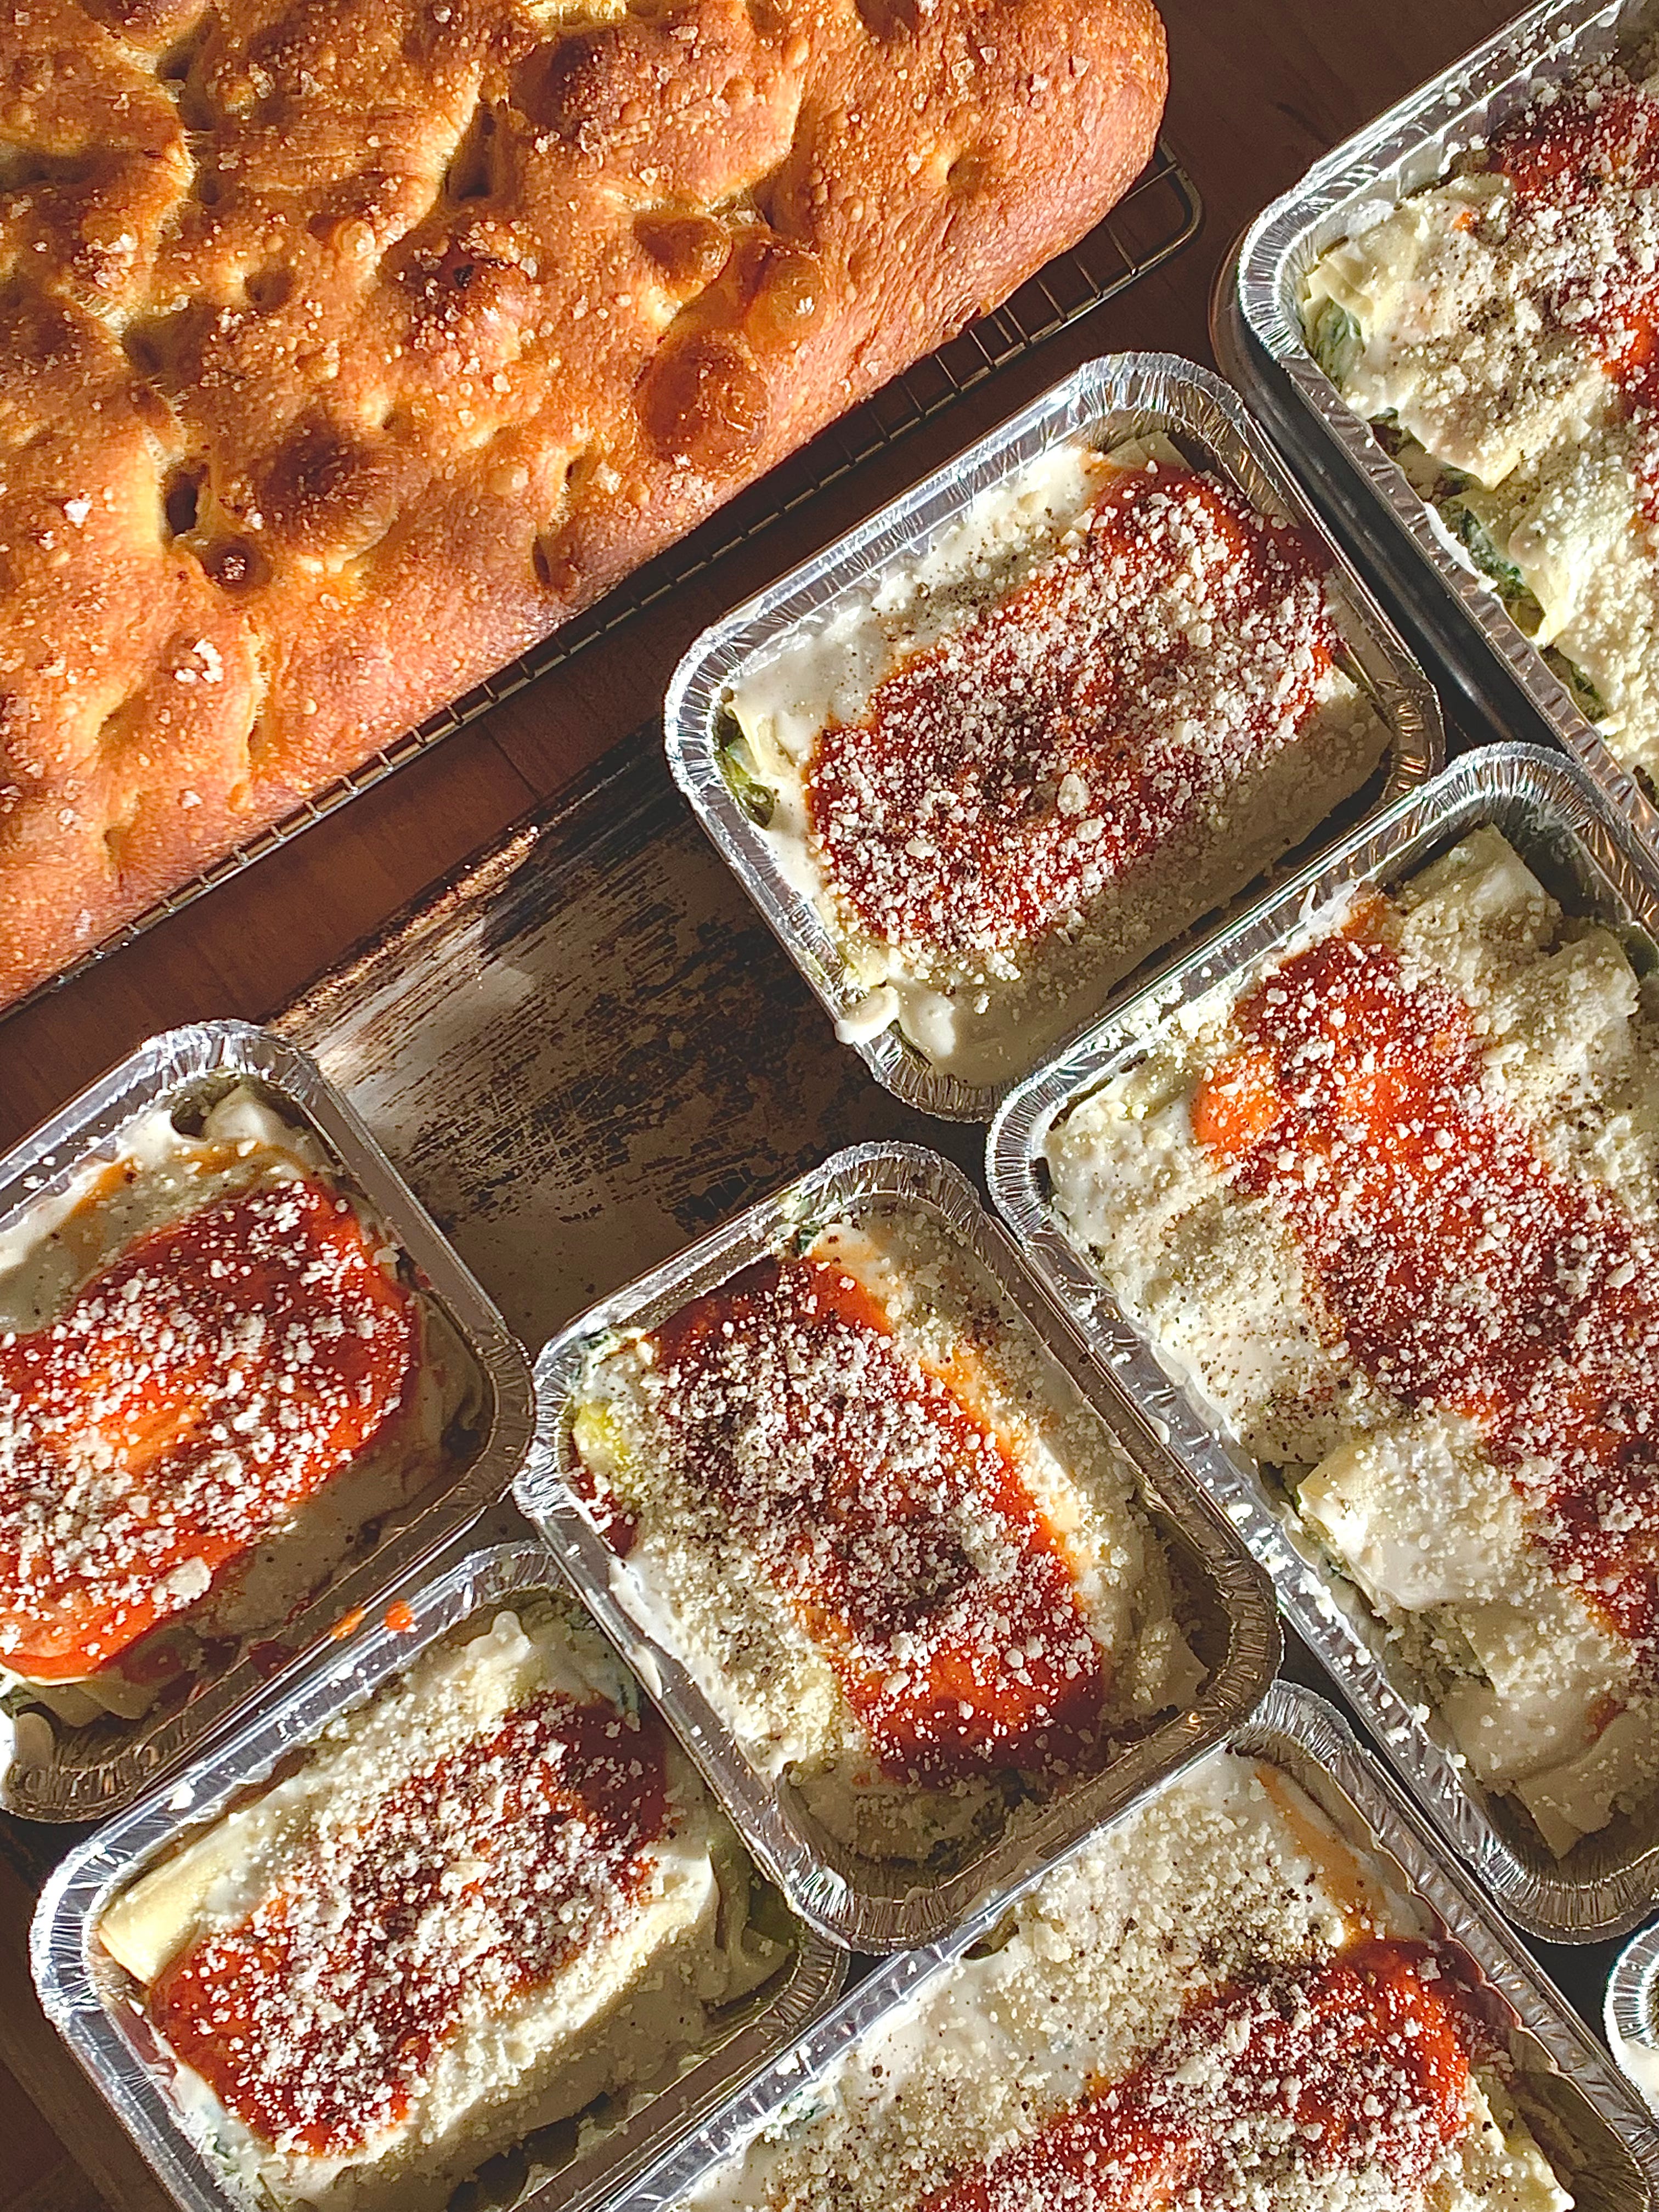
Spring Green Cannelloni
Either use store bought or make a quick tomato sauce. My usual tomato sauce is 6 cloves garlic, sliced and softened in generous amount of good olive oil, around ¼ cup. Add red pepper flakes and then a 28 oz can of Bianco Di Napoli tomatoes. I add a pinch of sugar. I feel like it brightens the whole thing up. May be sacrilegious. Cook down until the color is a bit ruddier, the flavor matured.
Sauté spring greens, like young (or overwintered) spinach, spring onions, and leeks. In a Cuisinart, add the sautéed greens, some ricotta, parmigiana, lemon zest, nutmeg, salt and pepper, and a bit of heavy cream to combine. Blanch pre-made (or homemade if you’re going for it) pasta sheets. Spoon a generous dollop of the filling into the pasta sheets and roll up. In the bottom of a baking dish, spread a layer of the tomato sauce. Line your cannelloni in the baking dish. When they are all tucked in, top with another layer of tomato sauce. If you have extra ricotta, dollop it around the cannelloni and grate parmigiana. Bake in a 400°F oven, covered for 20 minutes. Remove cover and bake for another 15-20 minutes until its bubbly and the edges start to crisp.
Whey-Caramel
*This is not for the faint of heart. There is sputtering whey and hot sugar. Be safe. If you have a grease splatter screen, use it.*
The amounts in this recipe are assuming that you used a gallon of milk to make the original ricotta, but you can adjust the ratio to fit the amount you have. After you remove your ricotta from the whey, keep cooking the whey, reducing it over medium-high heat. If your whey liquid has a lot of curd bits still in it, you’ll want to strain it and add to your ricotta. Reduce the whey until it starts to turn a light caramel color hue. This will take a while. The whey will be sputtering, sticking to the surfaces around your kitchen. Again, grease splatter screen highly recommended.
Once it reaches that light-caramel hue and has reduced by half, add approximately 3 cups of sugar. Turn the heat down to medium and continue cooking. Continue cooking, anywhere from 20-35 minutes. Once the caramel starts to look gloss and coat the back of the spoon, remove from heat. Add in 2 tablespoons of butter and ½ cup crème fraiche.
Use in any way you would use caramel. In a salted chocolate caramel tart, over ice cream, to dip apple slices into.
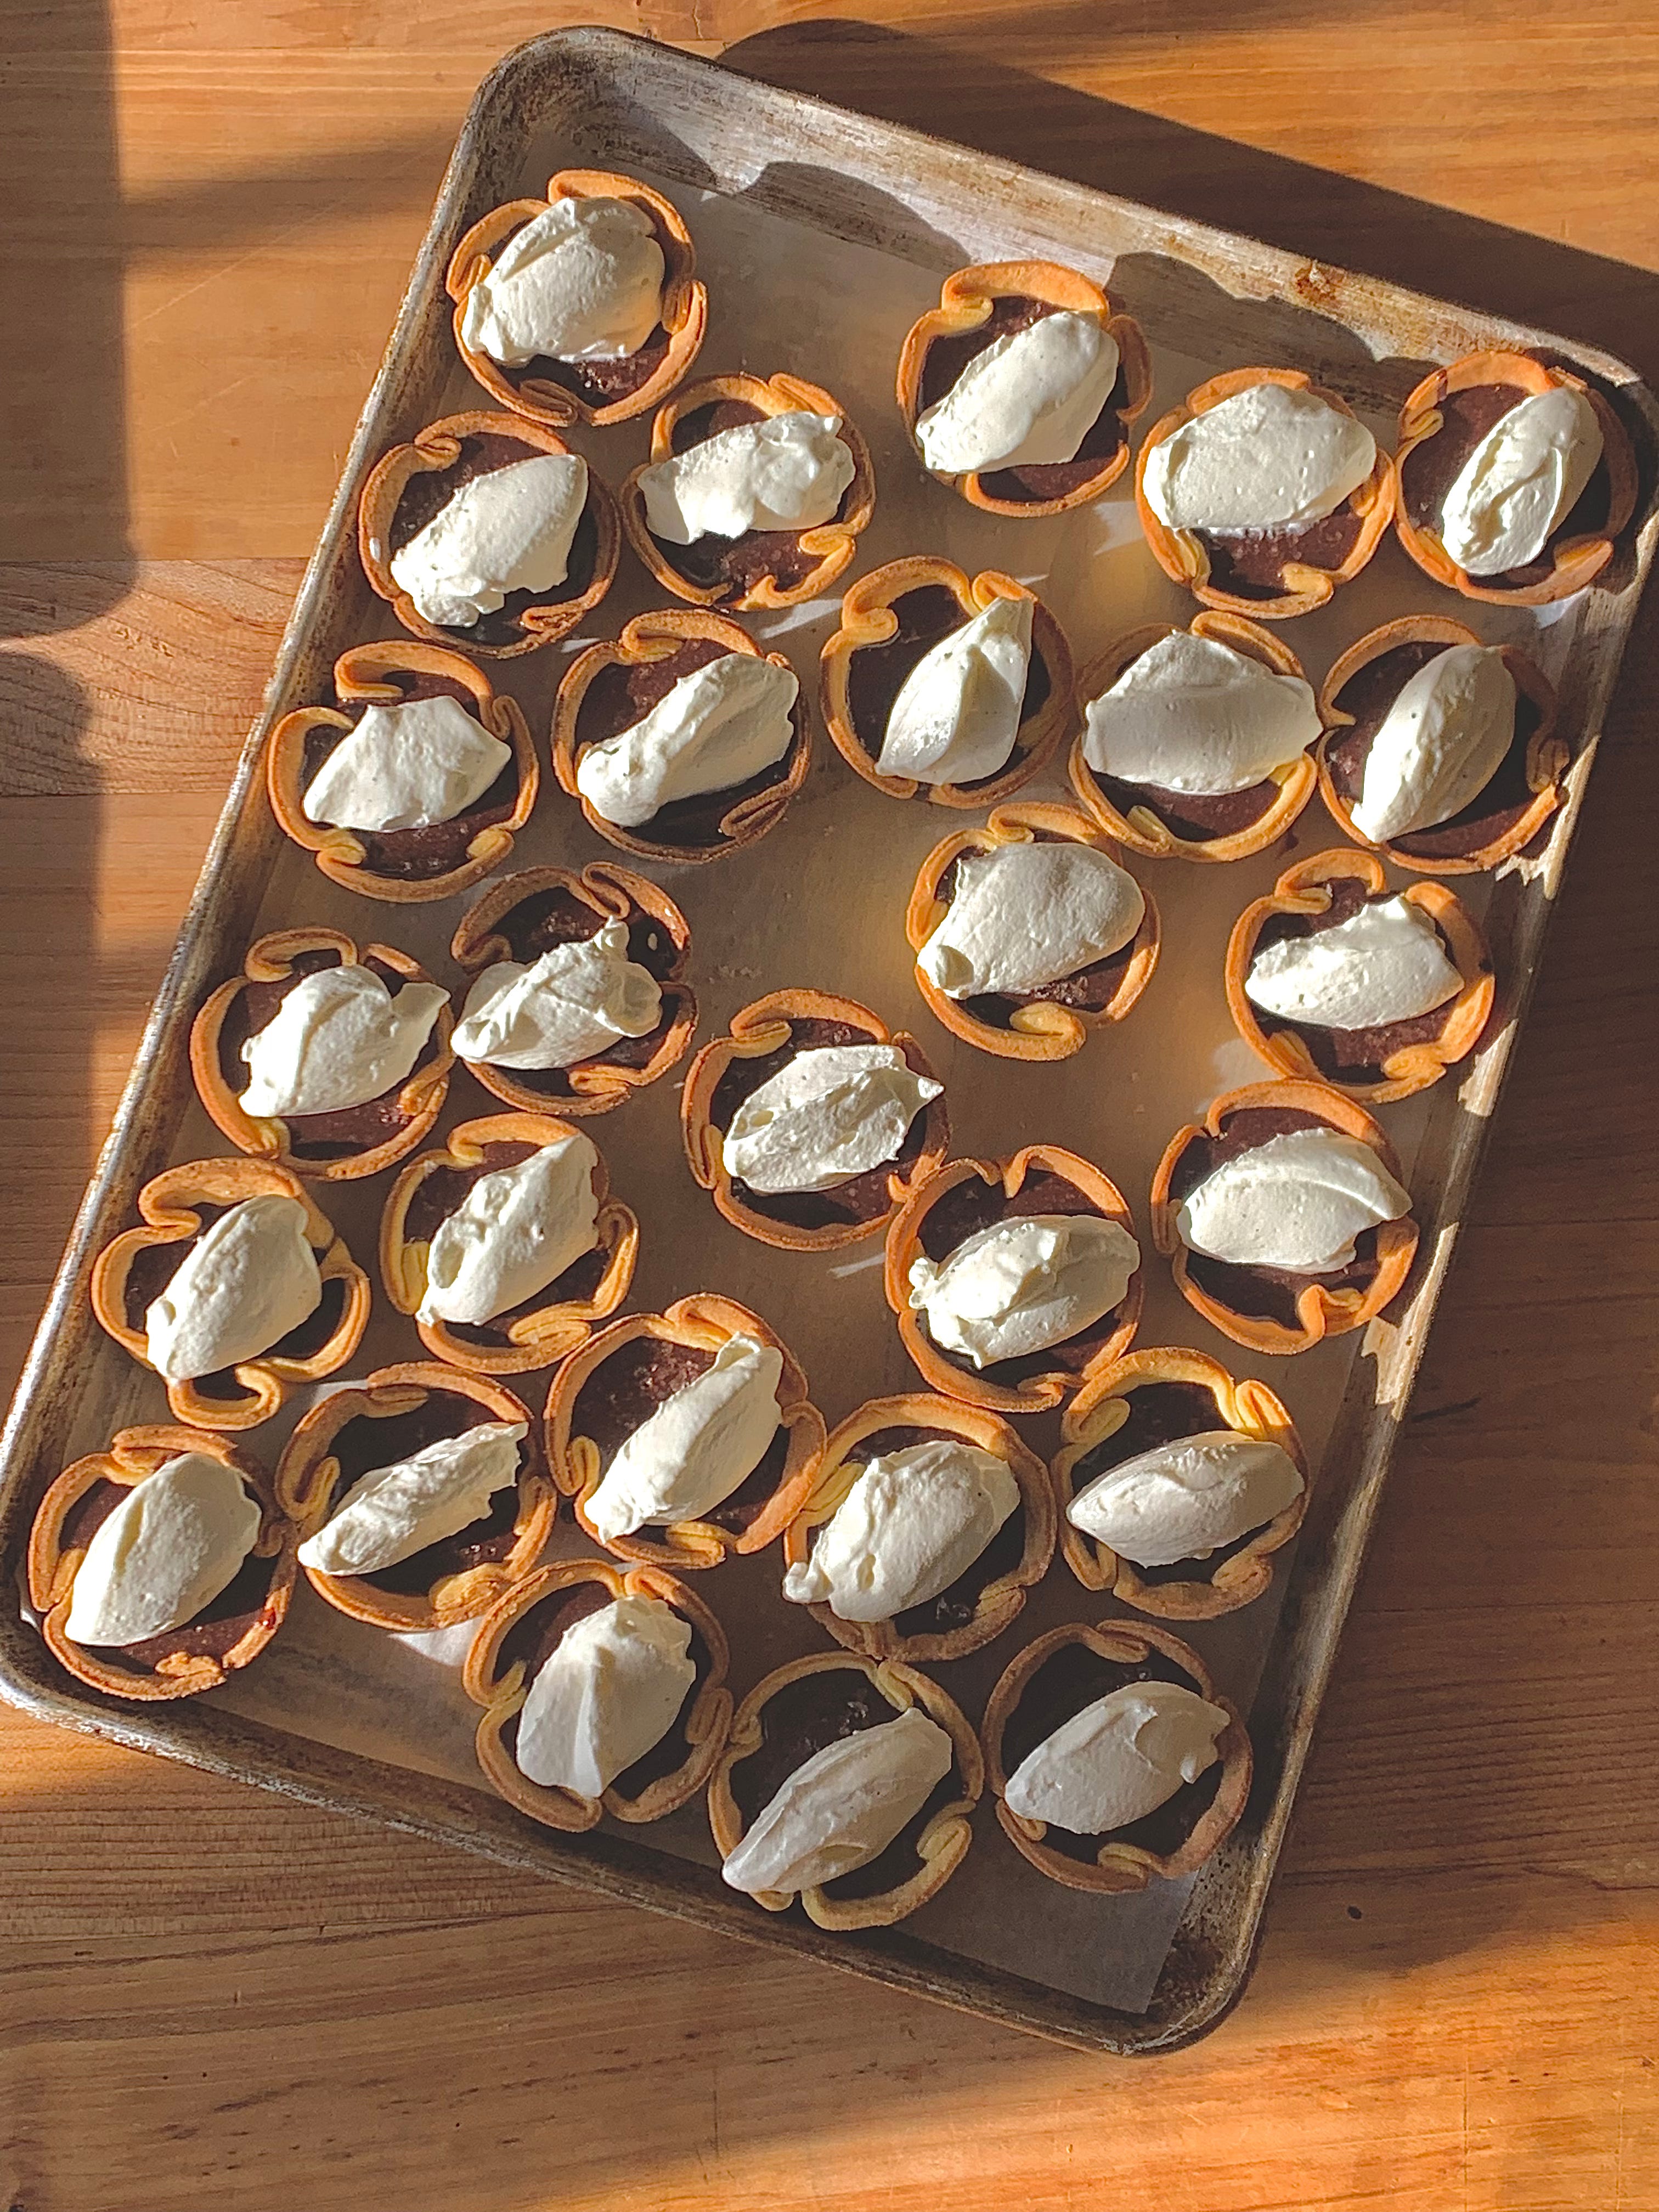
Chocolate Whey-Caramel Tarts
I have burned the bottom of my ricotta pot many times. If that happens to you, don't worry and carry on. Just don’t scrape the bottom into the strainer.
Visiting nyc this week from SSI, are you guys open? 🤞🏻